

Note: This document is written one year ago and is not 100% up to date. A modified (and more technical) version was presented at GDC 2014 by Romain Sididris and it is the main technique used in Modern Combat 5. For those of you with GDC Vault access the presentation is here .
At the time it was I think the only game that used SSAO on a tablet or phone.
SSAO buffer in MC5 :

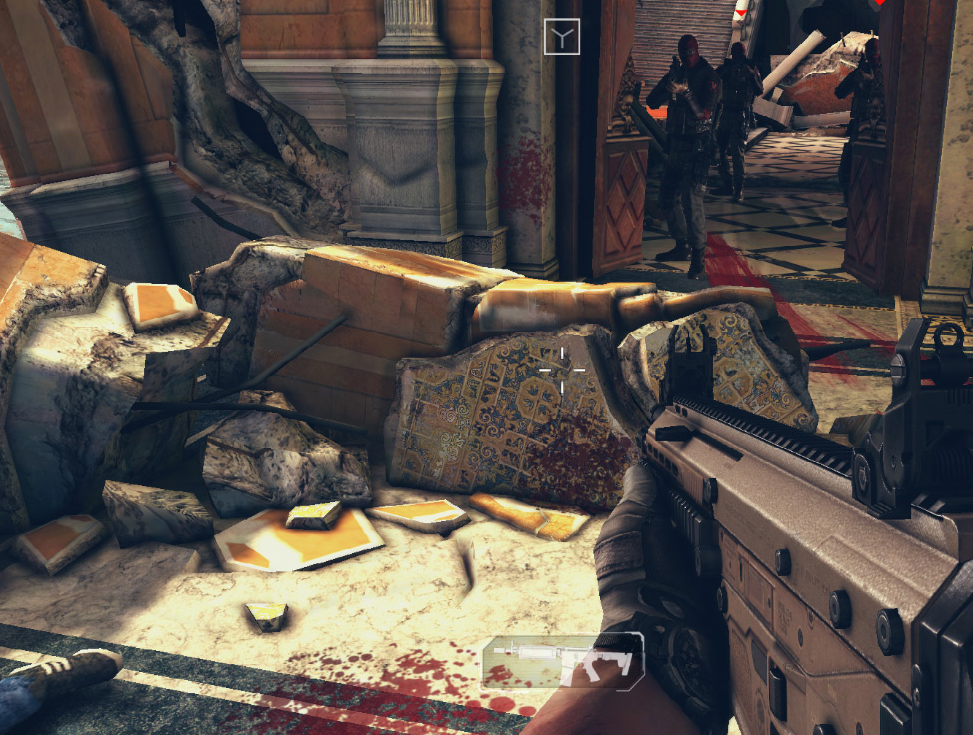
MC5 with SSAO:
MC5 Without SSAO:

..
Some time ago I started experimenting in rendermonkey with SSAO. The purpose was an affordable, simple and elegant solution that would work without issues on mobile devices. I had some success back then but without an actual game to work on I dropped the idea. Now it has been implemented without major issues in 2 of our studio games and works pretty well on ipad4 and iphone 5 (probably most android phones also)
The idea is simple and it is somehow different from existing techniques that :
-I did not understand fully anyway, most of the math was beyond my reach ;
-They rely on screen space normals most of the time, a buffer we did not have at that time.
-They use random noise based sampling and that in return, without a huge number of samples gave back noise. Using a small texture would increase the perceptual noise. Plus generating noise or reading one along with using vectors instead of just screen space uv values can be costly .
So it should be as fake as it getss. SSAO is very fake anyway, so why not fake a fake ?
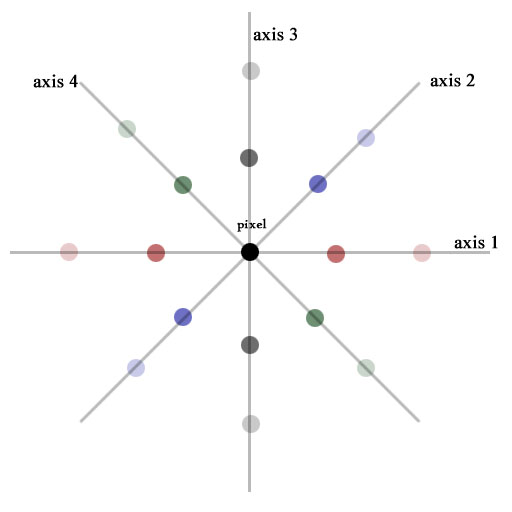
The technique is extremly simple, completely 2d (and not a single vector used) and is based on sampling the zbuffer around the current pixel on a few axis, checking the current pixel depth based on always 2 points on one axis, do the same for the same axis etc. After that increase the sampling radius, sample, add the new values to the previous ones based on a weight so on and so forth.
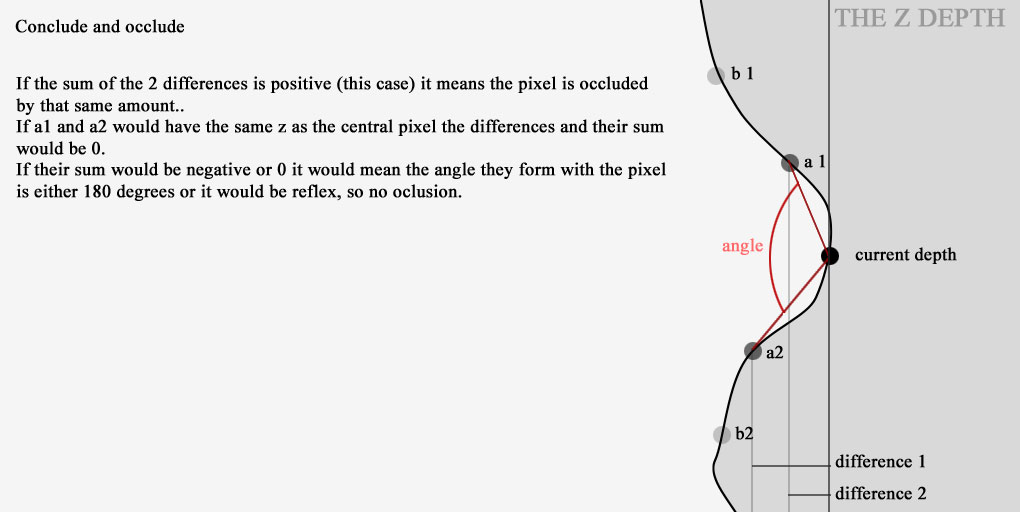
side” view of an axis and the z depth:
The first results unsung an un-optimized badly written version were ok (in a matter of speaking). No visible artifacts when using the same resolution as the frame buffer:

Problem was of course the fact that using native resolution dropped the fps from 40 to 10 on an Ipad 4. The usual approach was in order. Use a smaller (much smaller) texture should do the trick. We found that around 512 x something worked OK. Also the shader was heavily optimized (without noticeable drop in performance). From 32 samples (8 per circle) I dropped it to 18 samples (6 per circle like the image above).
In the end it was a combination of the modified shader and the blurring technique, a A LOT of back and forth between the two AND changing how the depth texture is filtered, what the native resolution of the game was and what was the best division factor so you get best results when sampling.
Notes:
–Filtering .Using linear filtering for the Z texture (no performance impact, without filtering and without an exact ration of 2 to 1 between original resolution and the ssao texture resolution there were all sorts of artifacts.
–Resolutions. Using a game resolution that is dividable by 2 and 3 (3 for ipad 4, 2 for iphone 5). I have to say that having a ssao resolution exactly half the original resolution gives much better results. A lot of workarounds were tried for 3/1 ratios but without much success. However we left 3/1 ratio for ipad 4 for performance reasons.
–Dogmas. Forget about all the dogmas about perfect sampling between pixels to get perfect blur. You will lose more time trying to fit in your blur to “that perfect formula” than improving your blur for your case.
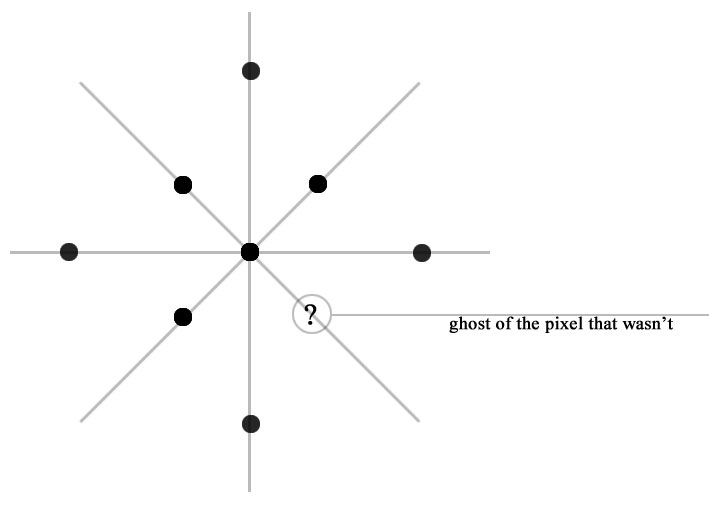
–Blur? Instead of blurring the ssao texture afterwards a median filter works best. So the final technique used a 8 samples (to avoid dependent lookup) sort of median filter that just returns the average value of the sampled filters. And speaking of dogmas, here is the sampling pattern I used for the median filter so it doesn’t do dependant lookpups. Only 8 samples.
–How much blur and how ? In our case, and this is rather important and strange was twice as cheap to have 1 step blur with 16 dependent samples than 2 step blur with 4 independent. That is from 10ms it went to 5ms on Ipad 4. So try it both ways, there is no universal recipe. The end result used the median filter and not blur, with 8 total samples to avoid dependant lookups.
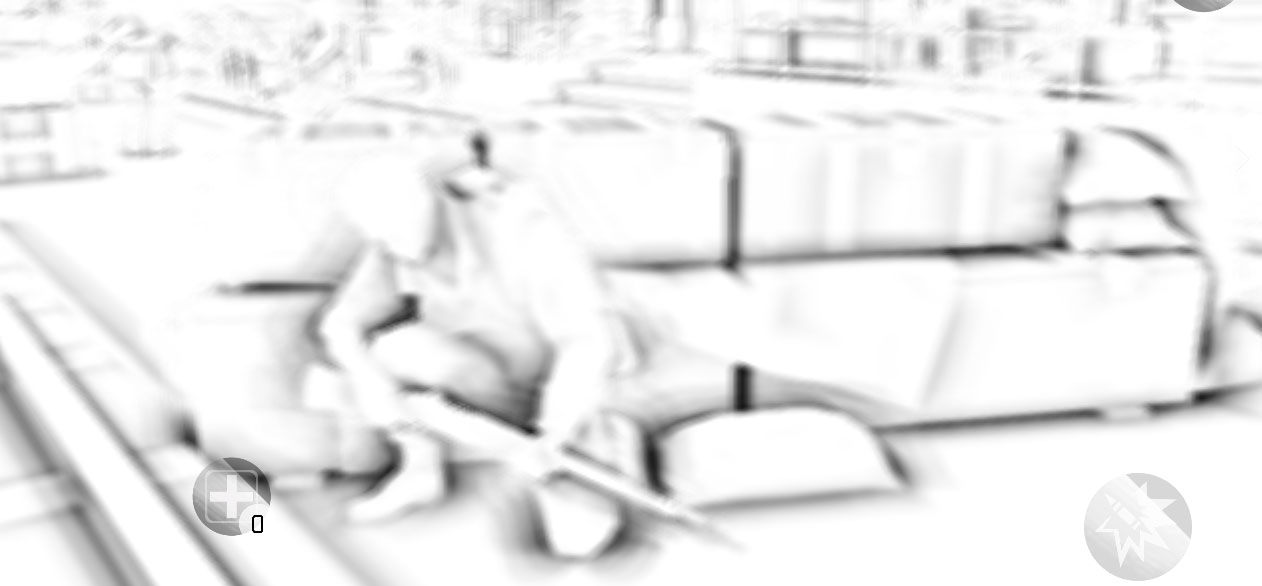
– Solving the white halos: Using a smaller texture without doubt gives you some nasty white halos around objects (look at the feet of the characters below). The simplest and efficient way to get rid of them is : Before the blur(median filter) add an extra step to the ssao texture that samples 4-5 pixels around and gets their minimum. This makes all black areas thicker and the halos get filled.
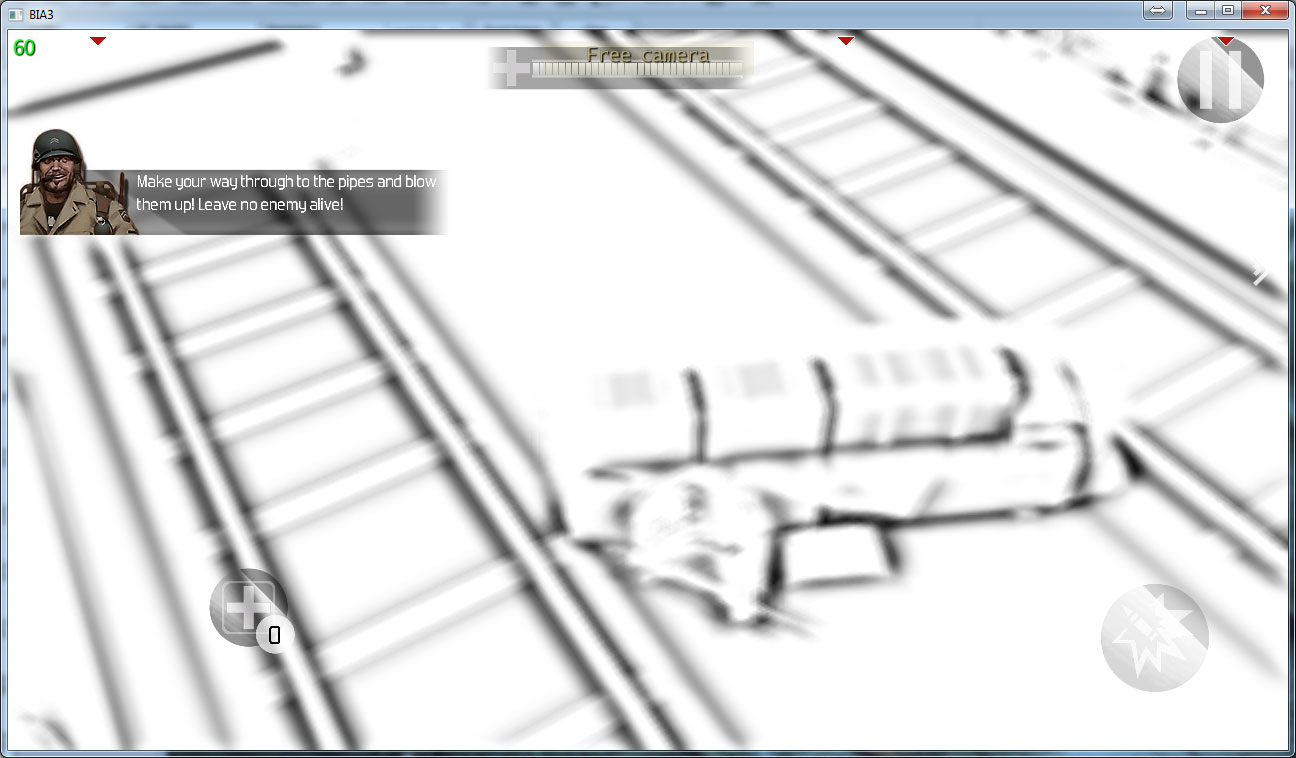
Unfortunately in our case ( BIA 3) case adding that extra step would have been equivalent to just having 2 steps blur and performance would become unacceptable.
–Things to try out. Time is a cruel mistress and plenty of stuff that could improve performance were not tried out.
a – Use a smaller zbuffer texture. Of course there is no major support for more than 8bpp textures you need to compress the zvalue intro more than 1 channel. This can be heavy but maybe it compensates for the cache trashing that occurs when reading from a huge texture.
b- Normally you have to render opaque objects, render ssao based on their depth, render alpha object. Obviously because alpha objects don’t write to zbuffer so you end up with ssao from a building on top of a smoke. An alternative is to render all solid objects with 0.0 in the alpha channel of the main texture and alphas with 1.0 (or something like that, complicated to expand the document intro blending modes). After that you can use the alpha channel of the image as a mask for ssao. In our case it was not possible because alpha channel is used for god rays. If it were probably there would have been much better performance.
c – That one extra pass. Don,t forget that using an extra pass on the ssao texture that gives you the min value of a sample area will get rid of the halos.
d- Combine the technique with something else so you get rid of a pass. Like godrays.
e – Other sampling patterns, maybe the second set would have axis between those on the first set.
f – a lookup texture to get the value of occlusion based on distance. This can get rid of the extra calculations do get the fadeout factor. Just clamp the difference value between -maxz and maxz and use the value in a lookup texture. I bet the results could be better.
g – less samples for top-down games. We allready have a simplified version for another game that works very well in a realtime shadowmapping only environment.
h – Because of the free blur pass you can combine it with a screen space shadowmap tchnique, like this one written by Andrei Jiman and also presented in the GDC presentation :
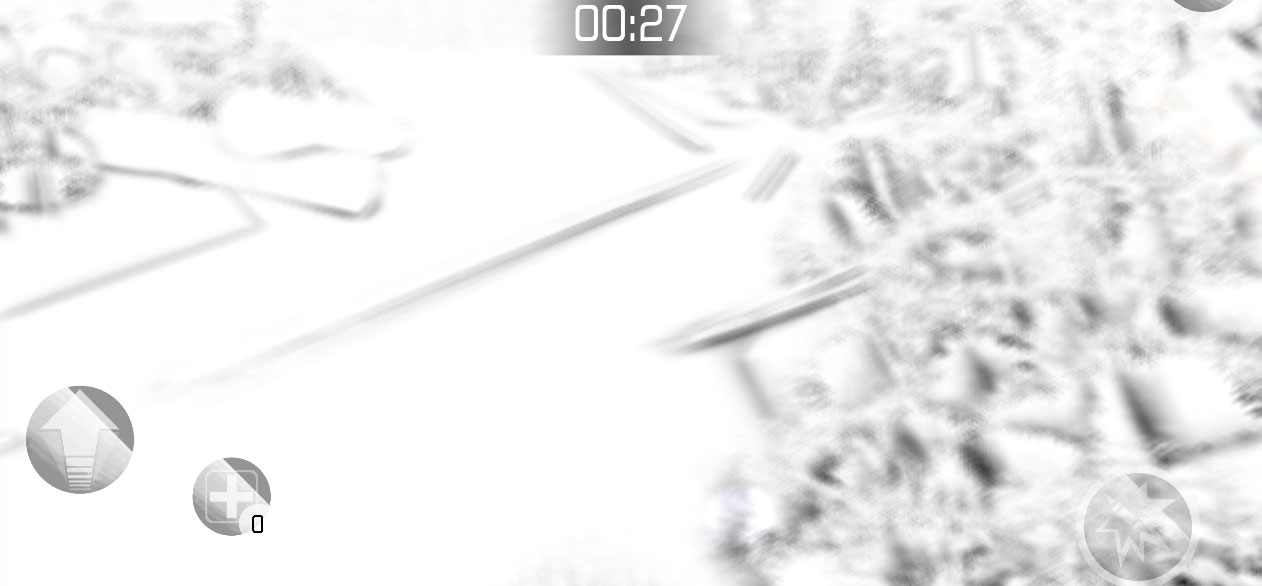
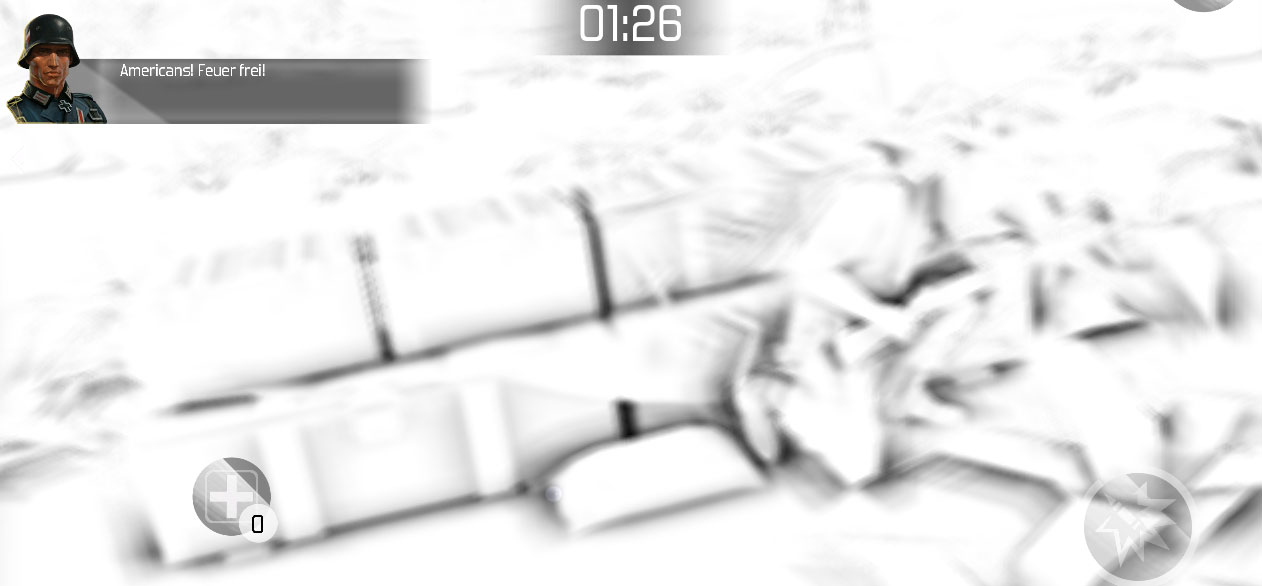
Screenshots with the final results (median filter applied ):
And the fragment shader (some explaining in the comments) :
uniform lowp vec4 FogColor; //used for fog
uniform sampler2D texture0;
uniform mediump sampler2D DepthRTT; //depth texture
uniform highp vec2 FogStartEnd; //used for fog
varying mediump vec2 vCoord0; //uv coordinates
const mediump float maxz = 0.00035; //this is the value of the z difference between pixels that gives darkest result.
const lowp float div_factor = 3.0 ; //used for ssao fade after the maximum z is reached.
const mediump float maxz2 = maxz*div_factor ; // used to fade the ssao value when
const mediump float zFar = 1000.0; //znear and zfar that are used in the game
const mediump float zNear = 0.5;
mediump float LinearizeDepth(mediump float z) //z linearization function
{
return (2.0 * zNear ) / (zFar + zNear – z * (zFar – zNear));
}
mediump float CompareDepth(mediump float crtDepth, mediump vec2 uv1) //the main function for comparing current depth with sampled pixel depth
{
mediump float diff = 0.0;
mediump float dif1 = 0.0;
dif1=crtDepth – LinearizeDepth(texture2D( DepthRTT, uv1 ).r) ; //calculate difference betwen current depth and sampled depth
diff = clamp(dif1, -maxz, maxz) – clamp(dif1/div_factor,0.0,maxz2) ; // we clamp the difference value so it is within maxz boundries and calculate a fade based on maxz2
return diff;
}
void main(void)
{
mediump vec2 UV= vCoord0 + vec2(0.0011); //an uv coordinates offset to partially fix some white halos at the feet of the characters.
mediump float original_pix = LinearizeDepth(texture2D(DepthRTT, UV).r) ; //linearize z
mediump float crtRealDepth = original_pix * zFar + zNear; //this is the part where the intensity value is calculated based on the fog present in the game
mediump float fog = 1.0 – clamp((crtRealDepth – FogStartEnd.x) / (FogStartEnd.y – FogStartEnd.x), 0.0, 1.0) * (1.0 – FogColor.a);
mediump float increment =0.013 – clamp(original_pix*0.4,0.001,0.009); //increment is based on the first number that is the sample radius increment for camera near and a formula that decreases the increment value as the z gets further from camera
mediump float dif1 = 0.0; //difference variables needed for each sample set around current pixel
mediump float dif2 = 0.0;
mediump float dif3 = 0.0;
mediump float dif4 = 0.0;
mediump float dif5 = 0.0;
mediump float dif6 = 0.0;
mediump float dif7 = 0.0;
mediump float dif8 = 0.0;
mediump float dif = 0.0; //final gathering difference
mediump float
increment2 = increment * 0.75; //Increment2 2 is the actual value that represents how far from the original pixel we sample. For the first set it is smaller *0.75, next is the same as base increment and the third is bigger
mediump vec2 inc1 = vec2(increment2, 0.0); //calculating uv’s based on the the previous value of increment2
mediump vec2 inc2 = vec2(increment2*0.7, -increment2*0.9);
mediump vec2 inc3 = vec2(increment2*0.7,increment2*0.9);
dif1 = CompareDepth(original_pix, UV – inc1); //do all samples in order of the axis.
dif2 = CompareDepth(original_pix, UV + inc1);
dif3 = CompareDepth(original_pix, UV + inc2);
dif4 = CompareDepth(original_pix, UV – inc2);
dif5 = CompareDepth(original_pix, UV – inc3);
dif6 = CompareDepth(original_pix, UV + inc3);
dif1=dif1+dif2; //calculate the sum of differences to see if they are positive. If they are positive the pixel is occluded by that same value
dif3=dif3+dif4;
dif5=dif5 + dif6 ;
dif=max(dif1,0.0)+max(dif3,0.0)+max(dif5,0.0); //get the sum of all 3 differences (only positive values)
increment2 = increment2 + increment ; //increase increment and do another sample
inc1 = vec2(increment2, 0.0);
inc2 = vec2(increment2*0.7, -increment2*0.9);
inc3 = vec2(increment2*0.7,increment2*0.9);
dif1 = CompareDepth(original_pix, UV – inc1);
dif2 = CompareDepth(original_pix, UV + inc1);
dif3 = CompareDepth(original_pix, UV + inc2);
dif4 = CompareDepth(original_pix, UV – inc2);
dif5 = CompareDepth(original_pix, UV – inc3);
dif6 = CompareDepth(original_pix, UV + inc3);
dif1=dif1+dif2;
dif3=dif3+dif4;
dif5=dif5 + dif6 ;
dif=dif+ (max(dif1,0.0)+max(dif3,0.0)+max(dif5,0.0)) * 0.7;
increment2 = increment2 + increment*1.25 ; //increase increment and do third sample
inc1 = vec2(increment2, 0.0);
inc2 = vec2(increment2*0.7, -increment2*0.9);
inc3 = vec2(increment2*0.7,increment2*0.9);
dif1 = CompareDepth(original_pix, UV – inc1);
dif2 = CompareDepth(original_pix, UV + inc1);
dif3 = CompareDepth(original_pix, UV + inc2);
dif4 = CompareDepth(original_pix, UV – inc2);
dif5 = CompareDepth(original_pix, UV – inc3);
dif6 = CompareDepth(original_pix, UV + inc3);
dif1=dif1+dif2;
dif3=dif3+dif4;
dif5=dif5 + dif6 ;
dif=dif+ (max(dif1,0.0)+max(dif3,0.0)+max(dif5,0.0)) * 0.5;
dif = 1.0 – dif * 600.0*fog ; //we invert the value of the ssao so white becomes black and also amplify it by an empiricaly found value based on maxZ, divfactor etc.
gl_FragColor = vec4(dif); //that’s it. next you can just multiply the buffer with the main image buffer. After that you write the alphas as they cannot be occluded due to lack of z writing.